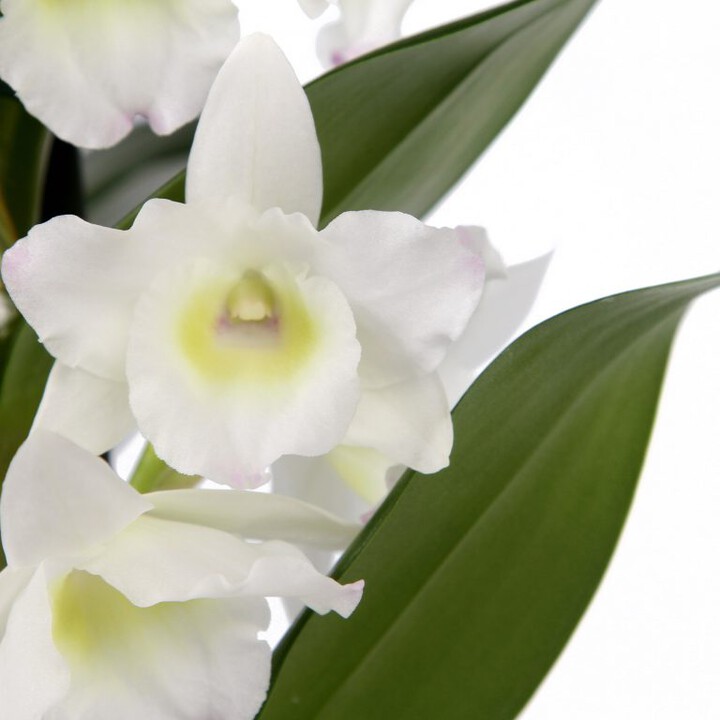
Dendrobium Orchids – with their profuse, delicate blooms – are hugely popular with many a green-fingered connoisseur. Their life cycle consists of three stages, which include the ‘flowering stage’ (winter to spring), the ‘growing phase’ (summer to autumn) and ‘dormancy’ (late autumn to winter).
Whether you wish to grow this particular orchid in your home or garden, there are a number of tips and tricks to follow, all of which will help you prolong your flowers lifespan.
With the correct care and growing conditions, orchids can double in size within their first year.
Light conditions
The Dendrobium Orchid is one of the more light-tolerant orchids available and as such, it can withstand direct sunlight in the morning. For best results choose an area that boasts early sunlight, followed by an afternoon of shade.
Temperature
During the day, this particular species of orchid enjoys temperatures of 68-85°F (20-29 °C), whilst at night it prefers temperatures of 65-75°F (18-24 °C)When in bud, this plant prefers even warmer climates, as frosty, cooler areas and drafts can cause both the buds and flowers to fall from the Orchid. Dendrobiums will emerge in February with their blooms lasting approximately six weeks. In cooler temperatures, they can re-bloom up to three times a year.
Watering your Orchid
The Dendrobium Orchid requires water once a week in most cases. If you live in a particularly cool or warm area, it’s important to check the medium with your finger prior to watering the plant. If the orchid is holding a lot of moisture, it’s better to wait until the soil is almost dry prior to watering again.
Fertilizer
Fertilizer is usually only required during the ‘growth phase’. For best results use a balanced fertilizer of 12-12-12 and add when you water the plant. When spring arrives, you should refrain from adding any more fertilizer unless no new growth has appeared. In this case, choose a fertilizer with high amounts of phosphorus (10-30-20). When the orchid is in full bloom, fertiliser is not required.
Flowering Phase
Flowering phase takes place in February – June. You will begin to notice a number of bloom sprays appearing on the top of the canes. Each cane can hold anything between five and 20 flowers, all of which will last between one and three months. In flowering phase, it’s important to water the plant weekly without fertiliser. To promote growth, place the orchid on a humidity tray – this can be created using a baking sheet lined with pebbles and water. You can also lightly spritz the plant each morning.
Growing phase – June – September
Even if the blooms are starting to die; you’ll notice the leaves are in abundance. In this stage, the plant has the potential to double its size in just a year. When the blooms have all fallen, cut back the sprays to the canes and apply a high nitrogen fertiliser. This will encourage the plant’s growth. Each cane has the potential to produce several sprays each year, which will shoot from the upper leaf axils.
At this stage, your Dendrobium may also grow a mini-plant, in the shape of a ‘keiki’ or ‘baby’. This will need to be removed and re-potted.
Dendrobium Orchid care when dormant – September – January
Your Dendrobium is dormant between the months of September and January. In this stage, the leaves will cease from growing. This allows the plant to focus on the roots. At the end of this period, you’ll notice a stem sprouting from the plant. This signifies the orchid’s need for both water and fertiliser.
When spring arrives, transfer your orchid to a cooler room boasting lower light. Refrain from applying fertiliser and watering too much. If no new stem appears after six weeks, encourage blooming by using a high phosphorous fertiliser of 10-30-20.
Re-potting your Dendrobium
A number of orchid species can stay in the same pot for up to three years. The Dendrobium on the other hand is generally re-potted on a yearly basis – once the blooms have died. If you’re unsure of when to re-pot your plant, simply keep an eye on the orchid. If it spawns a mini version of itself or begins to grow over the edge of the pot, now is the time for a new home.
When it comes to the re-potting of your plant, you’ll need to invest in a number of tools and resources, including a fine fir bark potting mix, secateurs (or sterilised scissors) and a clay pot. Clay allows for more air exchange and is the recommended pot to use for a number of orchid species.
Step-by-step guide to re-potting
1. Begin by gently removing the orchid from its existing pot and shaking it mildly to rid the roots of any loose potting mix. If you’re finding this process difficult, soaking the plant in water can help speed up this procedure. In the worst-case scenario, smash the existing pot.
2. The next step requires you to trim away any rotting or dead roots using a sterilised blade.
3. Add half an inch of potting mix to your new pot. Work the roots into the mix without burying them completely.
4. Using a stake and ties, stabilise the plant
5. Finally, water sparingly until you see new roots beginning to show.
Looking after your Dendrobium outdoors
The Dendobium plant is extremely light-loving for an orchid, and as such, is the perfect specie for the great outdoors, predominantly in the summer in humid climates. It’s not unusual for this orchid to spend June through September outside. If planting your orchid outdoors, it’s important to follow a few rules. The most important being, you can’t plant it permanently outside as even the slightest hint of frost will kill it. For best results, plant in an area that boasts both partial sun and partial shade and bring inside if you’re expecting many days of rain or bad weather. Too much moisture can cause root rot; whilst all outdoor plants are prone to common garden pests.
Do you want to purchase a Dendrobium orchid?
If you would like to get a fresh dendrobium, you can order one on SerenataFlowers.com:
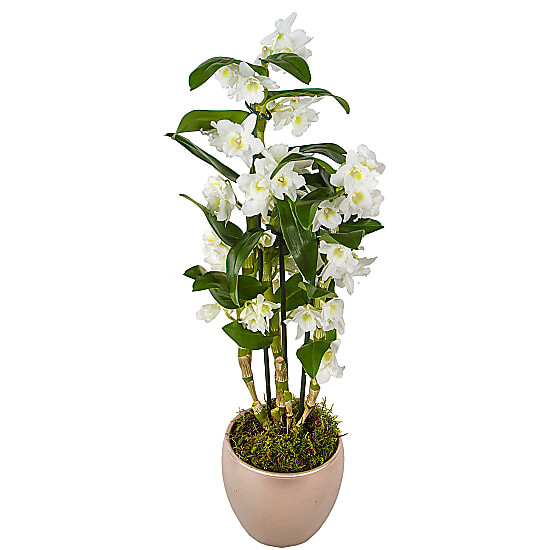
Dendrobium Orchid in the Lime Pot

Dendrobium Orchid