Dividing perennials, such as hostas, daylilies and peonies, is a great way to make the most of plants already in your garden. Plants that have multiplied into big clumps can take over and compete with others for moisture and nutrients in the soil. When dividing perennials, you’re keeping the garden tidy and healthy, encouraging plants to bloom, and getting more plants to put elsewhere.
· Why should you divide perennials?
It’s time to divide perennials when they have outgrown their spaces or crowd neighbors in a flower bed. Some perennials, such as irises, need to be divided from time to time to encourage them to bloom rejuvenating the plants. Dividing perennials also saves money. If you’re making a new flower bed, simply start by dividing perennials in your garden and plant some of the divisions in your new bed.
· When should you divide perennials?
Early spring through early summer is a great time to divide most perennials. This allows the transplants to establish their roots long before the following winter’s frosts.
Early fall is another great time to divide perennials, especially peonies. In early fall, there is less heat stress on your plants than there is at the height of summer. To make sure to allow plants time to put down roots before winter arrives, divide them while the weather is pleasant and you’re comfortable outdoors in a shirt or a light sweater.
No matter when you divide perennials, move them quickly to their new place, and pay careful attention to watering.
How to divide perennials
Follow these 6 steps to separate perennials, specifically daylilies.
1.First, gather your tools.
You’ll need a spade, a garden fork, a trowel, a tub or tarp, a hose and nozzle. Garden gloves are a good idea, too.
2.Make sure the plants are well watered.
This relieves the stress of dividing them and makes it easier to dig up a clump. Divide plants a day or two after a good rain or water well beforehand with a Gilmour Thumb Control Watering Nozzle using the “garden” or “flower” setting. Apply enough water to penetrate to the roots of the plant.
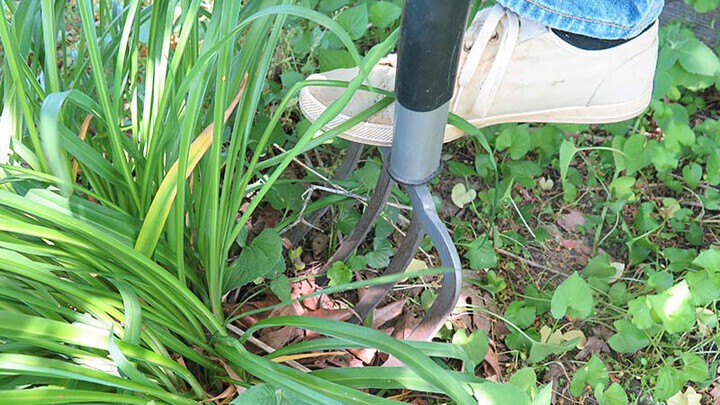
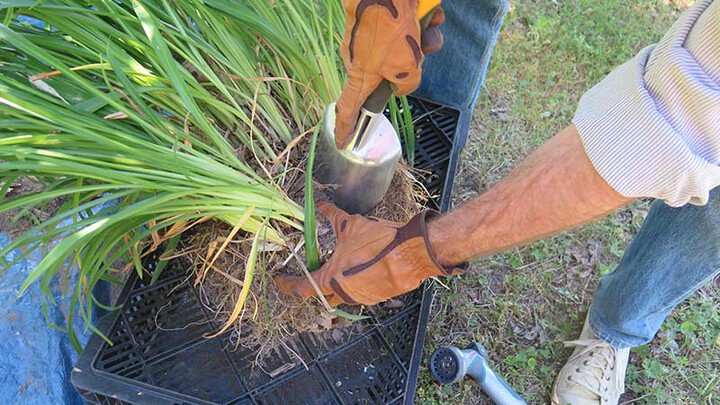
3. Dig up your plant.
It’s easiest to use a garden fork, but a spade can also work. Loosen the soil around the plant, pick up the clump and place it on the tarp. If you don’t want to divide the whole clump, simply slice through the clump with the spade and dig part of it out.
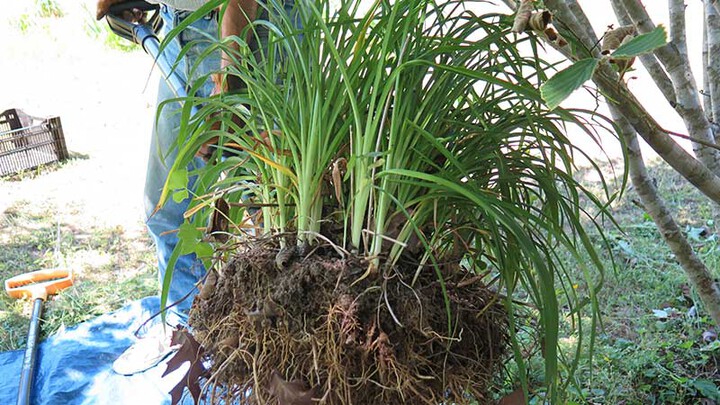
4. Shake the soil off the roots
This helps you see where to divide the plant. You can also use a watering nozzle on the “soft wash” setting to wash off the soil.

5. Pull or cut the plant apart to divide it.
For daylilies, the ideal division has three “fans” of leaves. If the clump is growing tightly together, you may need to use a trowel or a knife to separate them. Each division should have a root section and leaves. If the leaves are hard to manage, cut them back by about two thirds.
6. Replant each divided section.
Place them at the same depth they were growing when you dug them up.
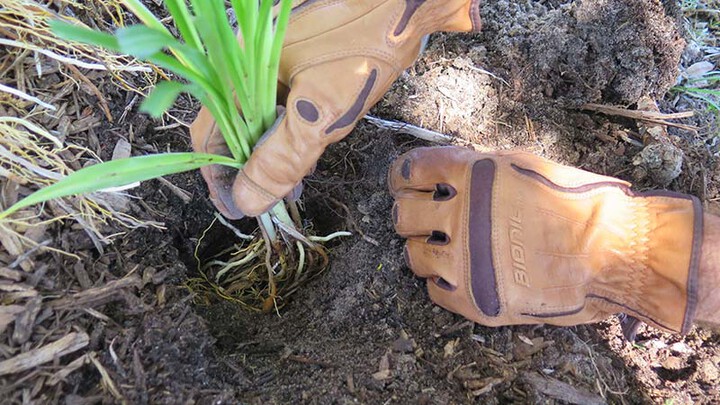
Firm the soil around each division and make a watering ring to limit runoff. Next, water well by using a Thumb Control Watering Nozzle whenever the soil dries out. Test the moisture in the soil by poking your finger into the ground near the crown of the plant. A light layer of mulch around the divisions keeps the soil in place, helps retain moisture in the soil, and limits weeds. If you can’t plant in the ground right away, temporarily plant them in flower pots.
Take care of your divisions by continuing to water regularly while they become established. Daylilies divided early in the season should produce a few blooms their first summer. After three years, you’ll have impressive clumps that bloom regularly.