Learn how to properly add these beautiful planters to the front of your home with our step-by-step tips.
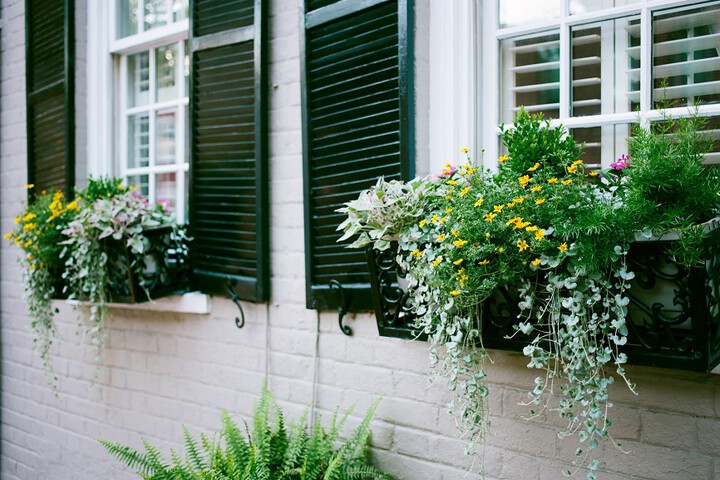
Window boxes are a great way to display plants, flowers, or herbs a little differently—and bring major visual intrigue to the front of your home. Plus, unlike your garden, they're malleable: You might opt to change them out seasonally, or allow healthy plants to thrive as long as your climate allows. Not sure where to start? Mary Starnes and Gretchen Jacobs, owners of The Windowbox Gardener, share their step-by-step tips on how to properly hang your window boxes.
Step One: Select the Right Container
The material, sizing, and type of container you use for your window boxes really matters—but Starnes and Jacobs warn against using wood options. "Keep in mind that for the plants in a window box to thrive, they need to be watered daily during the hottest months of the year," says Starnes. "Having a consistently wet window box means that traditional wood, even if treated, will begin rotting in some capacity within three or four years. We prefer to have our window boxes built using a Trex product, or another type of composite material that can handle moisture year-round."
The gardeners suggest selecting a window box with decent depth, which provides space for the plants and their roots to grow. "Our preferred width is a minimum of eight inches, and the depth ideally is 10 inches," says Starnes. "Of course, the length of the window box will depend on the size of the window—we recommend that the length is at least the length of the window, or an inch or two longer. When the window boxes are shorter, they look out of scale."
Tempting as self-watering containers may be, the gardeners advise against these styles. "Self-watering window boxes are usually too shallow, and the plants need daily watering if they're on the west- or south-facing side of a house," says Starnes. "Good, old-fashioned hand watering is best for a window box." If daily watering is too time consuming, she suggests installing a drip line irrigation system.
Step Two: Hang the Container
The window box should always be hung prior to filling it. "Use sturdy brackets to handle the weight of the filled box," continues Starnes. "Keep in mind that a window box may double its weight by the end of the season, as the plants grow." You'll also want to account for water and soil weight. Two L-shaped heavy duty brackets attached to the outside of the house should do the trick, and your local hardware store should have brackets that will work with your box.
Step Three: Fill the Window Box
The gardeners recommend using a good potting mix that's made for container gardening, rather than top soil; mixes that include slow release fertilizer also work well. They warn against using any fillers at the base of the box. "Window boxes are usually shallow, so they need all the soil they can get," says Starnes. "Using fill material of any kind creates plants that struggle. When we empty window boxes at the end of most seasons, they are completely root bound, as they've used all the available soil provided. If another material were in the base of the boxes, the flowers would've stopped developing roots once they hit that material." Once the window boxes are filled, be sure to thoroughly water your plants.
Step Four: Change Your Arrangements Seasonally
If you live in a place that experiences four seasons, Starnes and Jacobs suggest changing out your window boxes seasonally—you'll enjoy them more! "In Indiana, we change out window boxes for our clients four times a year. Each season provides its unique annual material to use," notes Starnes. When changing the plants, she says you'll want to refresh all off the soil and remove the previous season's roots to give the new varieties a fresh start.